08 Feb Creating a blog in five easy steps
If one of your goals is creating a blog of your own then this post is for you. It’s been over three years since we launched this blog and although it’s required a lot of hard work and commitment, we can’t imagine life without it. Travel blogging has allowed us to create a vivid record of our journey, connect with many other travellers, indulge Amy’s love of writing and hopefully inspire readers. Perhaps you’re now wondering, how do I start a blog? Well, follow these five easy steps and you can’t go wrong.

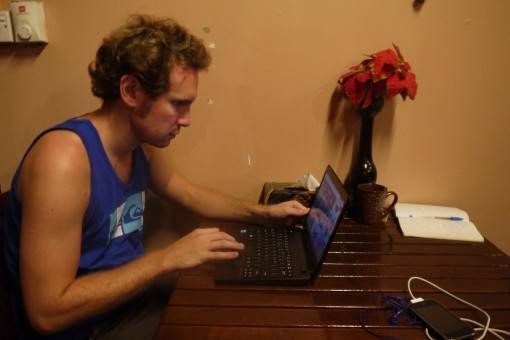
Wow, such concentration!
Five Easy Steps to Creating a Blog
In this post I’ll explain how you can create your own blog using these five easy steps:
- Step 1 – Find a Niche
- Step 2 – Choose a webhost service
- Step 3 – Choose a domain name
- Step 4 – Install WordPress and plugins
- Step 5 – Start blogging and share your content
Step 1: Find a niche
The first thing you need to do is think about why you want to start blogging. Do you want to create a business, a useful resource, an online record of your life, connect with people who have the same interests as you, or just share your thoughts and opinions? The best blogs, in my opinion, are written by people who have a real passion for their subject matter. So the best advice I can give you is to blog about what you love or have a special knowledge of, whether that be travel, food, baking, sports, films, books or even vacuum cleaners, if that suits you! Once you’ve decided on your niche, stick with it but be prepared for your ideas to evolve as time goes on; when we started our site, it was all about travel but we now also write about teaching English abroad, which has become part of our travel lifestyle.

Step 2: Choose a webhost service
Hmm, what’s a webhost service? I hear you say. Well, this is a service that allows you to put your website on the internet. All the files that make up your site have to be stored somewhere, in this case it’s on the service provider’s servers and they make sure that your website stays up and running.
Should you pay for Website Hosting?
Now, you might be wondering how to start a blog for free. Several cost-free hosting options are available if you don’t want to part with your hard-earned cash; you can use sites like Blogspot, Web.com, Weebly, Wix and Yola. The main problem with going with a free website builder is that you limit your creativity; you’ll be restricted in your choice of templates and won’t be able to personalise your site much.

Our Homepage – a lot goes on behind the scenes
We pay for our web hosting and recommend that you do the same. When you go down the paid route you get much better support, security and ultimate control over your site; you can make it look exactly the way you want (perhaps by paying someone who knows about website design or designing it yourself if you have the knowhow) and really produce your own, unique creation. Web hosting services don’t have to be expensive either and can cost as little as $3.49 a month.
As for which webhost service you use, there are quite a few out there but we use and would recommend Bluehost, here’s why:
- It’s got great 24/7 phone and online customer service
- It’s cheap. For just $3.49 per month you can get your site up and running
- It’s reliable. We’ve used it since 2012 and our site has never been down, it’s always been accessible
- You can get a free domain name for your site
- You get to use WordPress, (more on this in step 4)
- It’s easy to use. Come on, even we can get our heads around it!
If you choose Bluehost, you can use this sign-up link to get started. From there, click on the Get Started Now button and just follow the instructions; choose the plan that best suits you, enter your details and set up your password. One thing to remember is that Bluehost offers a 30-Day Money back guarantee and you can cancel your contract at any time, so it’s not the end of the world if you decide blogging isn’t for you or want to switch web hosts.
Step 3: Choose a domain name
A domain name is the address of your homepage, for example; www.mynewblog.com. If you choose Bluehost, you can get a free domain name. Alternatively, you can buy domain names from sites like Godaddy and 123-reg. Think up a good name that fits with the niche of your site and is memorable, so people come back to it.
Step 4: Install WordPress and Plugins
Next you need to install a content management system that will allow you to create your website and update it. WordPress is the gold-standard, free system used by most bloggers, including us. WordPress offers a huge choice of customisable templates, allows you to easily upload posts, pictures and videos, install plugins and widgets, check statistics to see how your site is performing and reply to comments.
Most web hosts will have a button which enables you to install WordPress easily. If you use Bluehost, for instance, login and go to your control panel (cPanel). Click on the WordPress icon, select install and choose the domain name you’ve just registered. You’ll then need to set yourself up with a username and password. Head over to your WordPress login screen (usually your domain name followed by ‘wp-admin’) and use the new login details.

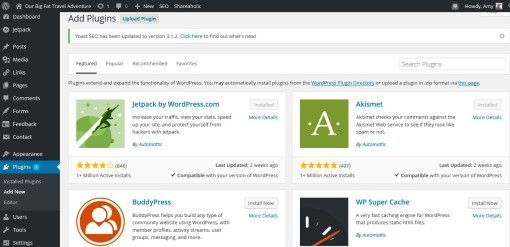
The Plugins page on WordPress
Now you’ll need to install some Plugins, which allow you to add extra features to your site, such as buttons for readers to share your content, systems which regularly back-up your site (this is very important so that you don’t lose all your hard work) and security features to block spam comments and malicious log-in attempts. There are thousands of plugins to choose from and most of them are free. Once you’re in WordPress, use the sidebar menu on your dashboard to search through and install plugins on your site. It may be worth doing a Google search for ‘best WordPress plugins for a new blog’ to help you get started.

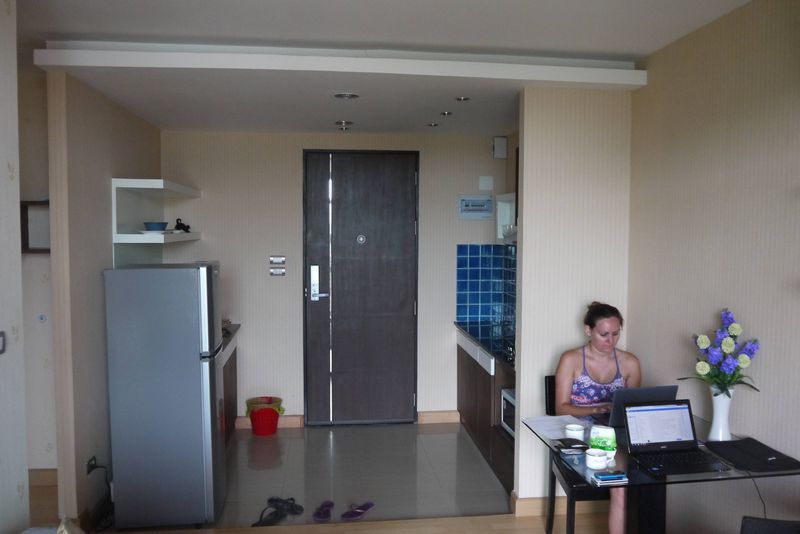
Amy working hard on the blog
Step 5: Start blogging and share your content
Now you’re pretty much ready to go, write your post, add a few pictures, proof-read (50 times if you like) and then hit publish. You can share your new content on Facebook, Twitter, Pinterest and other social media sites to help get the word out about your new blog. Good luck and enjoy!
Let us know about your new blog in the comments below, we’d love to check it out.


No Comments